Guide for Installing and Configuring the RedRays AI Plugin for ABAP Code Scanning in Visual Studio Code
1. Downloading Visual Studio Code
To use the plugin, you will need Visual Studio Code (VS Code).
Go to the official Visual Studio Code website.
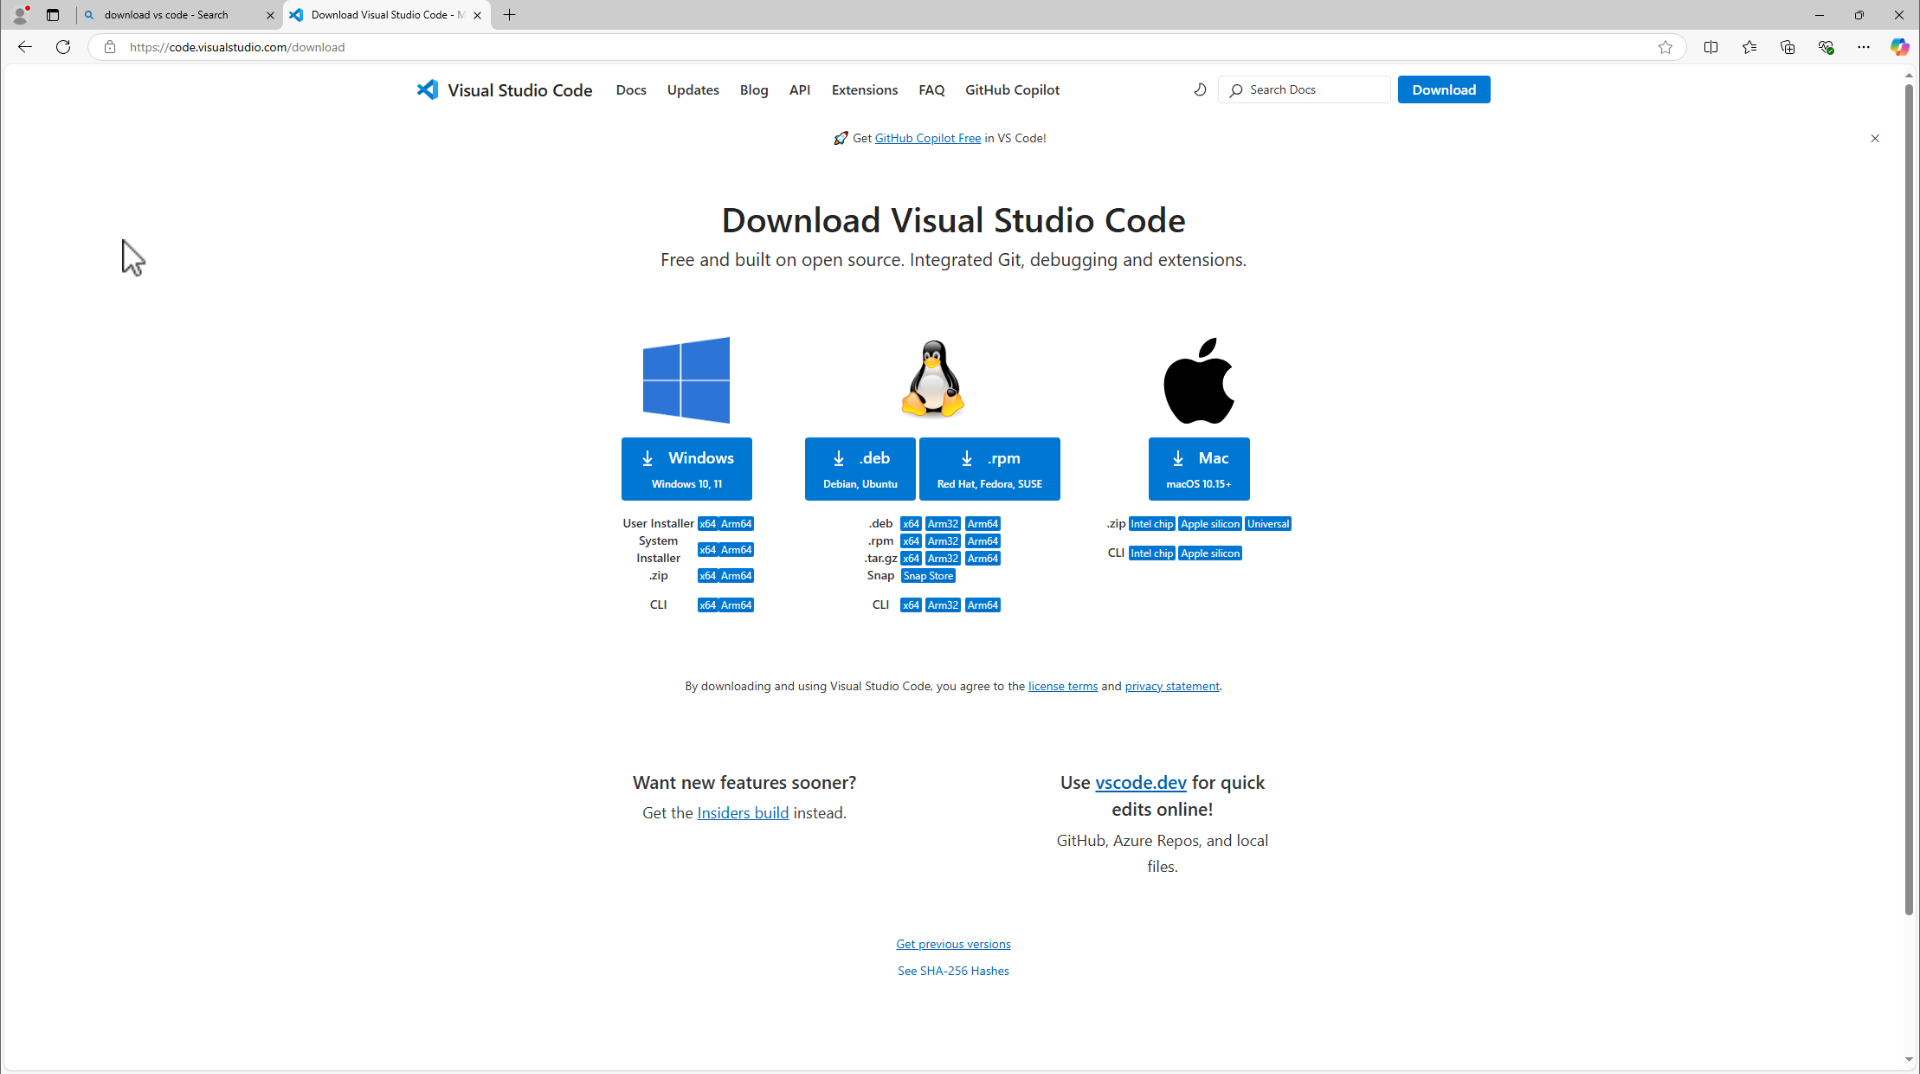
Download VS Code Select your operating system (Windows, Linux, or Mac) and download the installer.
Install VS Code by following the setup wizard instructions.
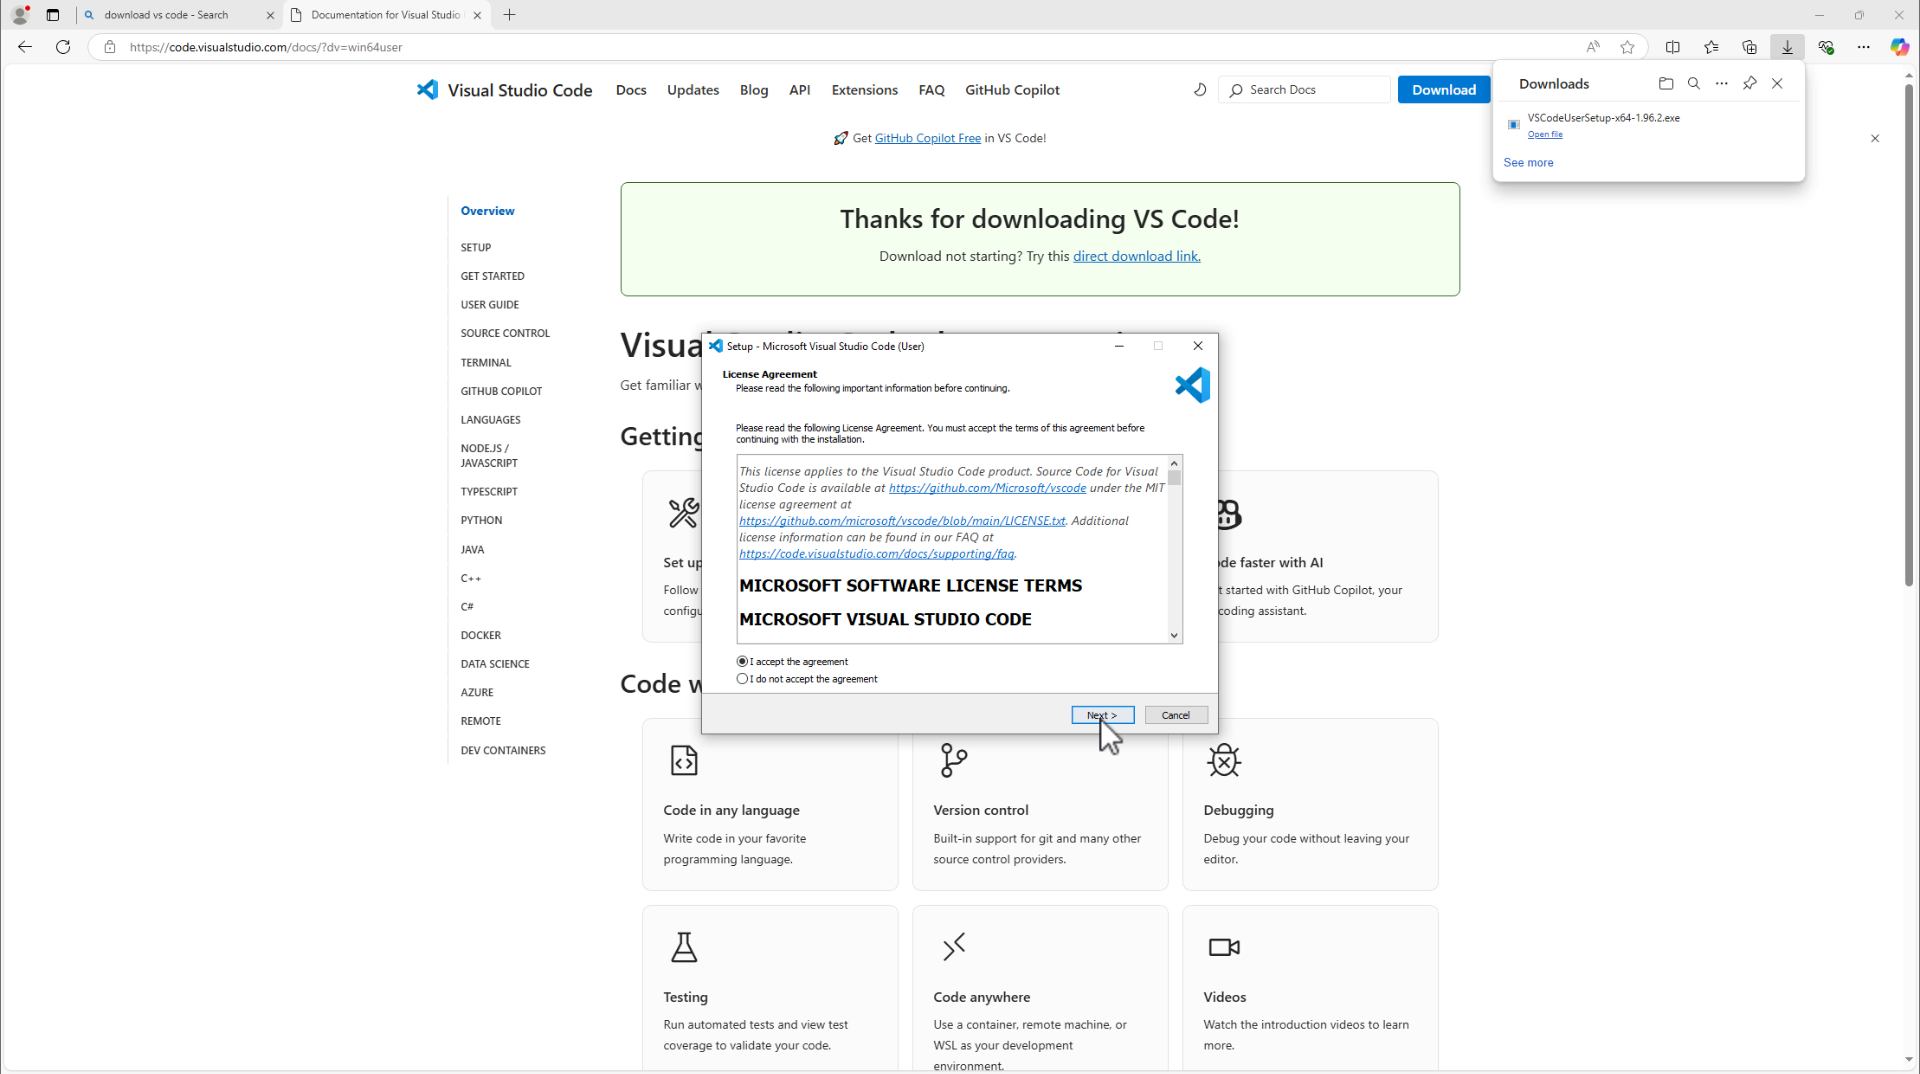
Install VS Code
2. Installing the RedRays AI Plugin
Open VS Code.
On the left-hand panel, find the Extensions tab (icon with a cube image).
Search for “RedRays” in the search bar.
Locate the plugin “RedRays ABAP Code Scanner” and click the “Install” button.
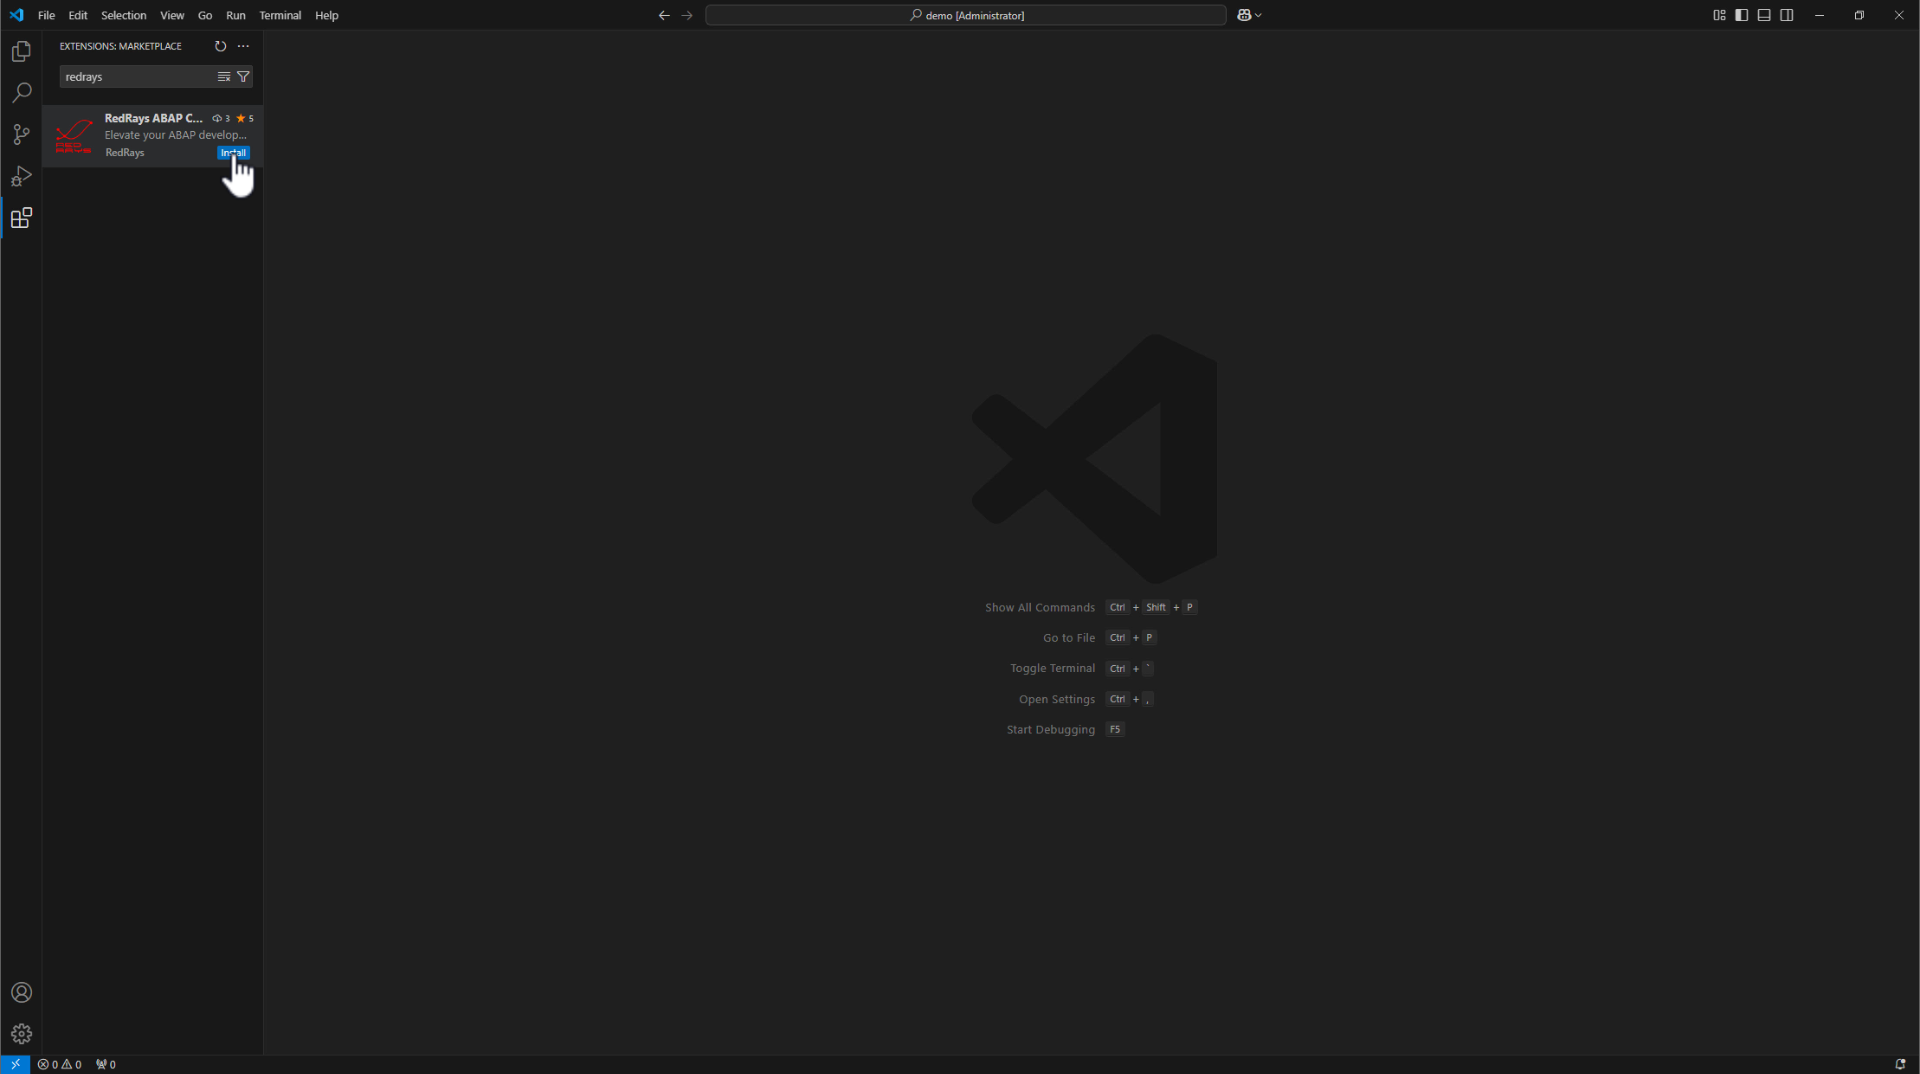
Install RedRays Plugin
3. Configuring the Plugin
After installing the plugin, open an ABAP file to activate the required plugin features.
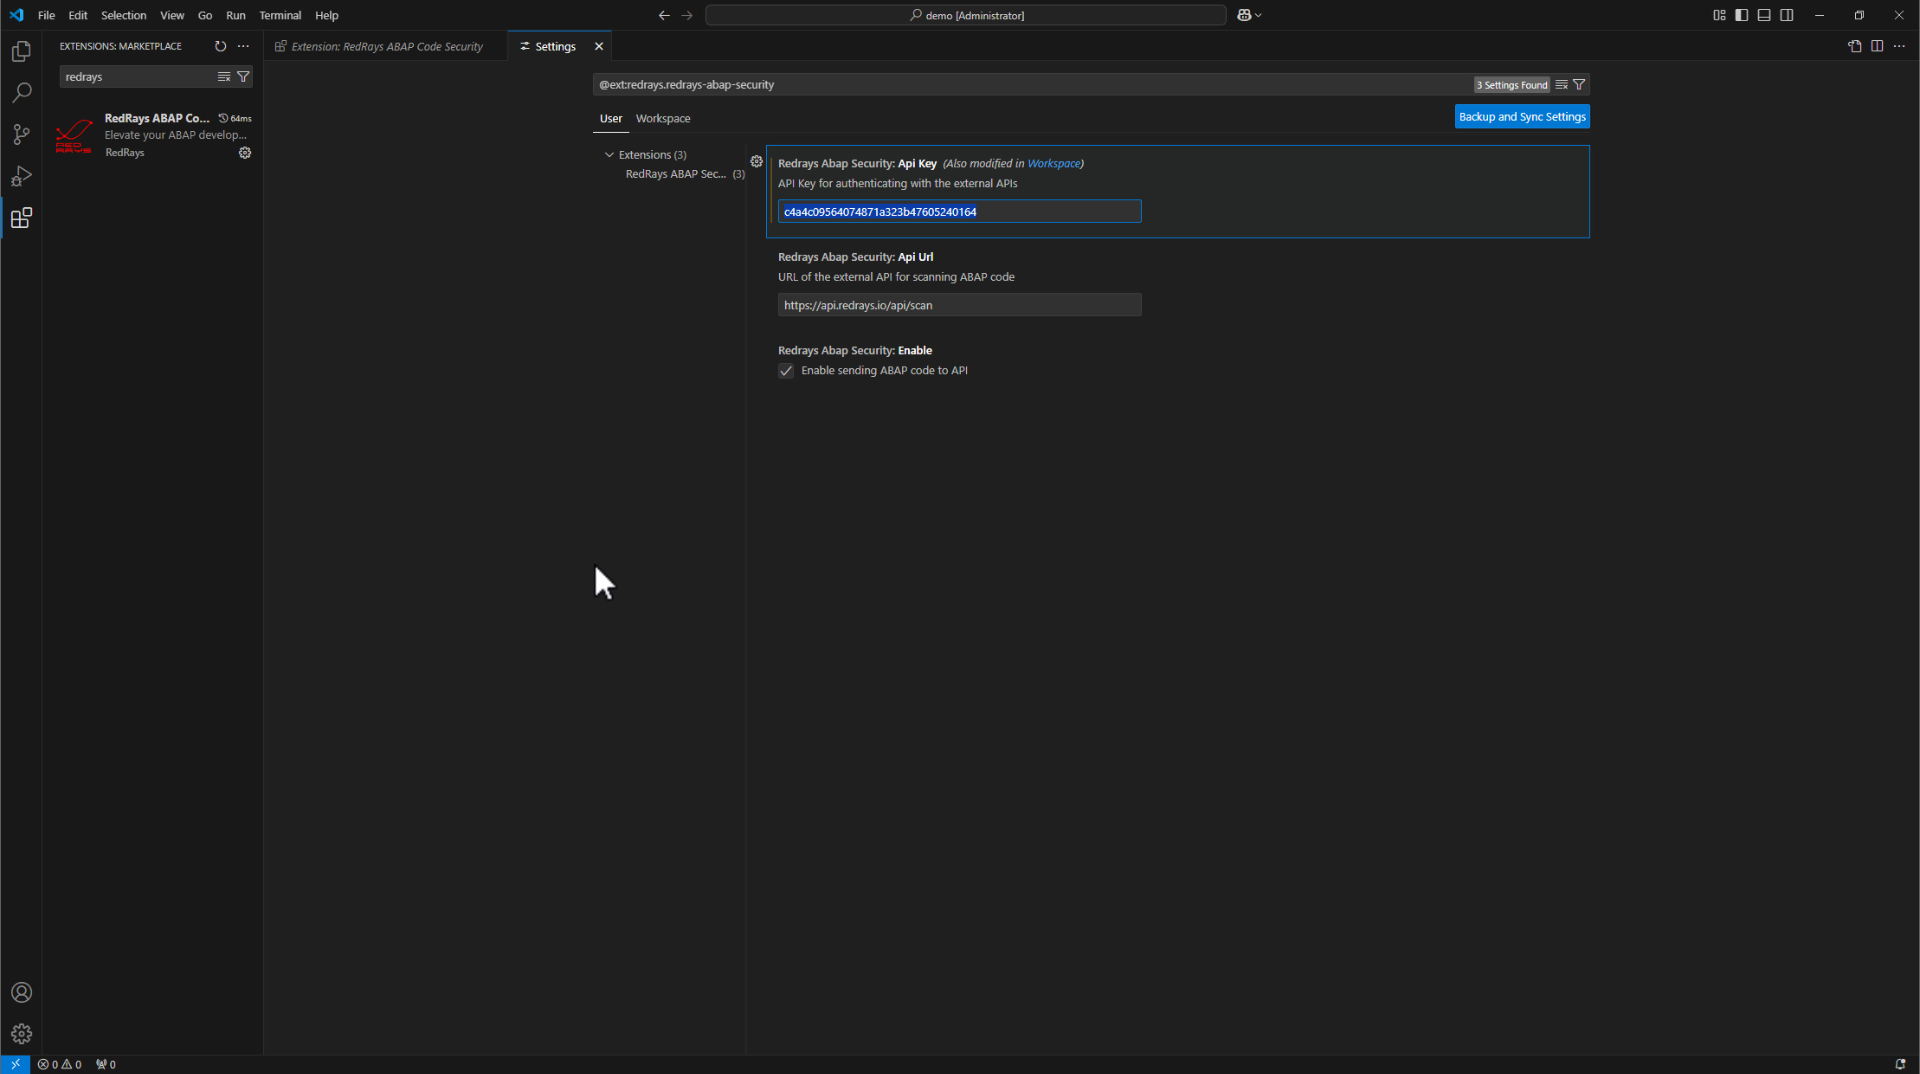
Go to the plugin settings (right-click on the plugin -> “Settings”).
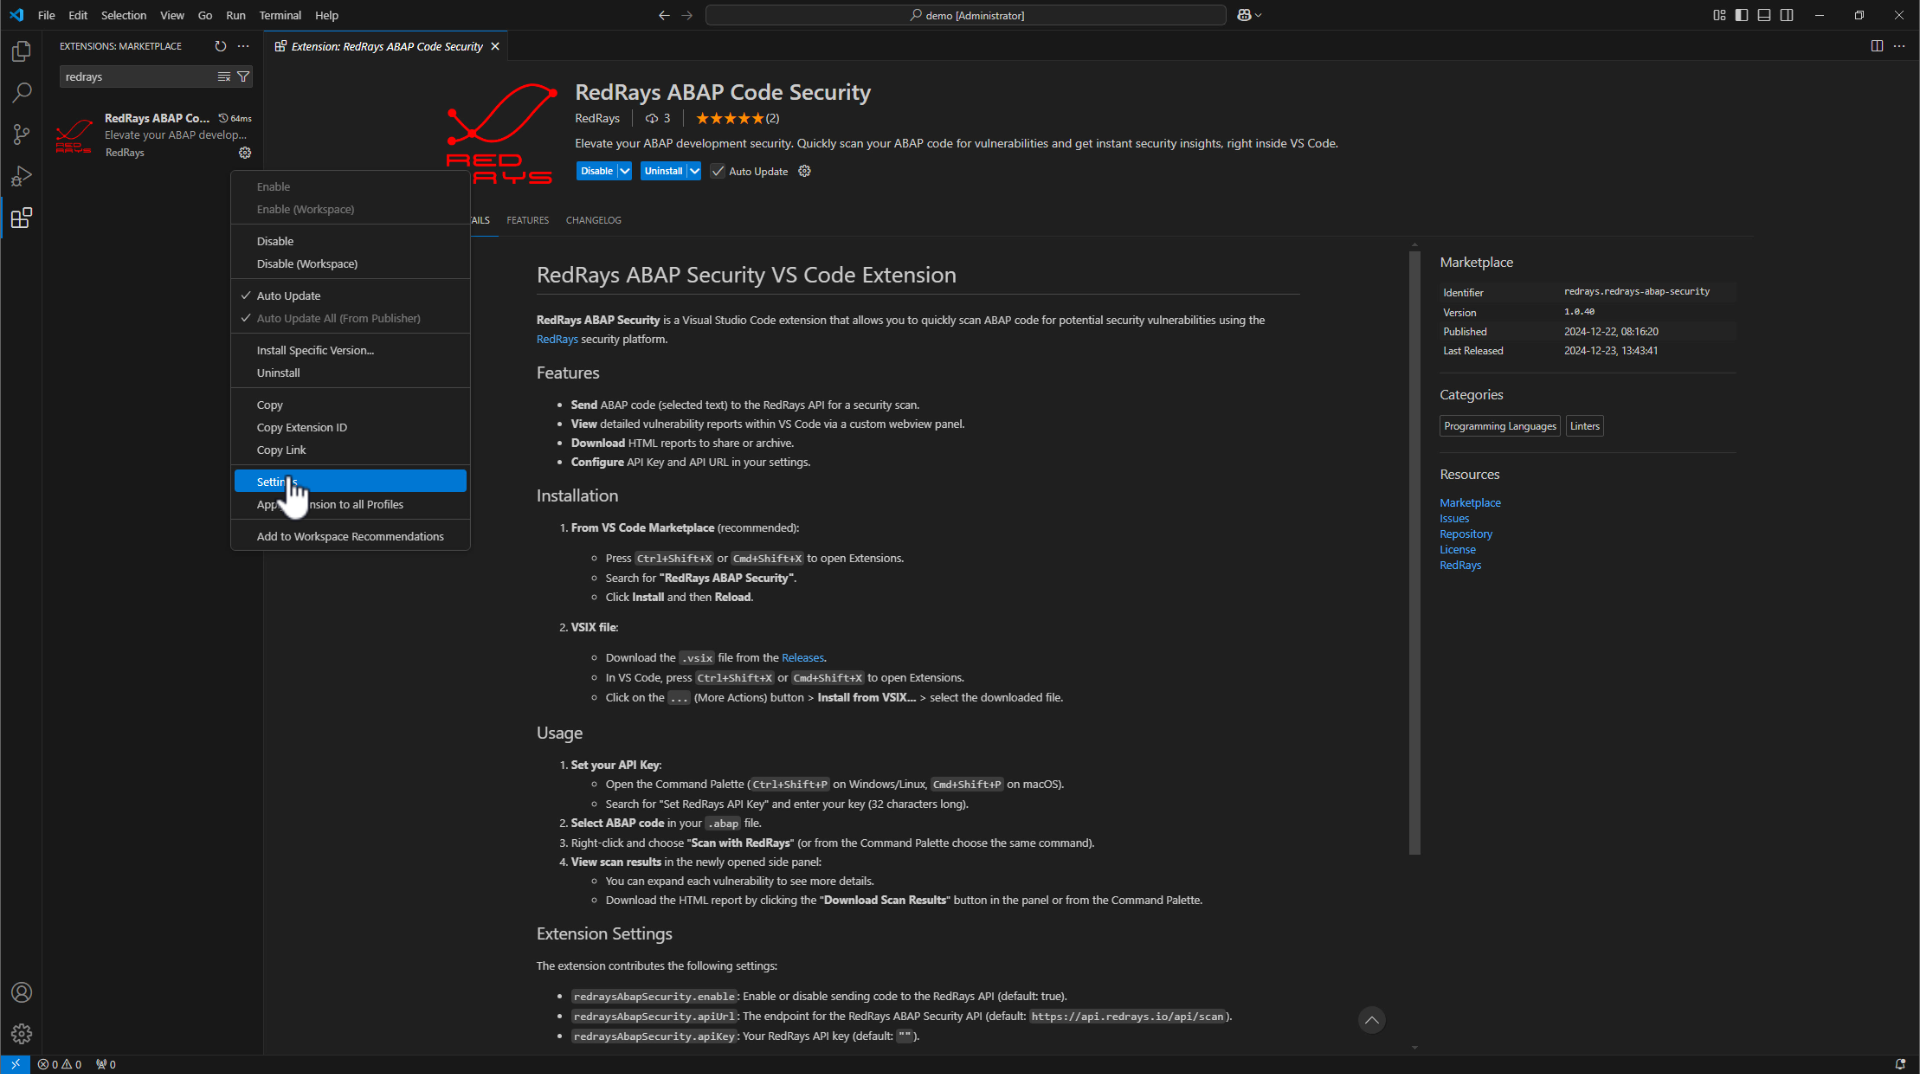
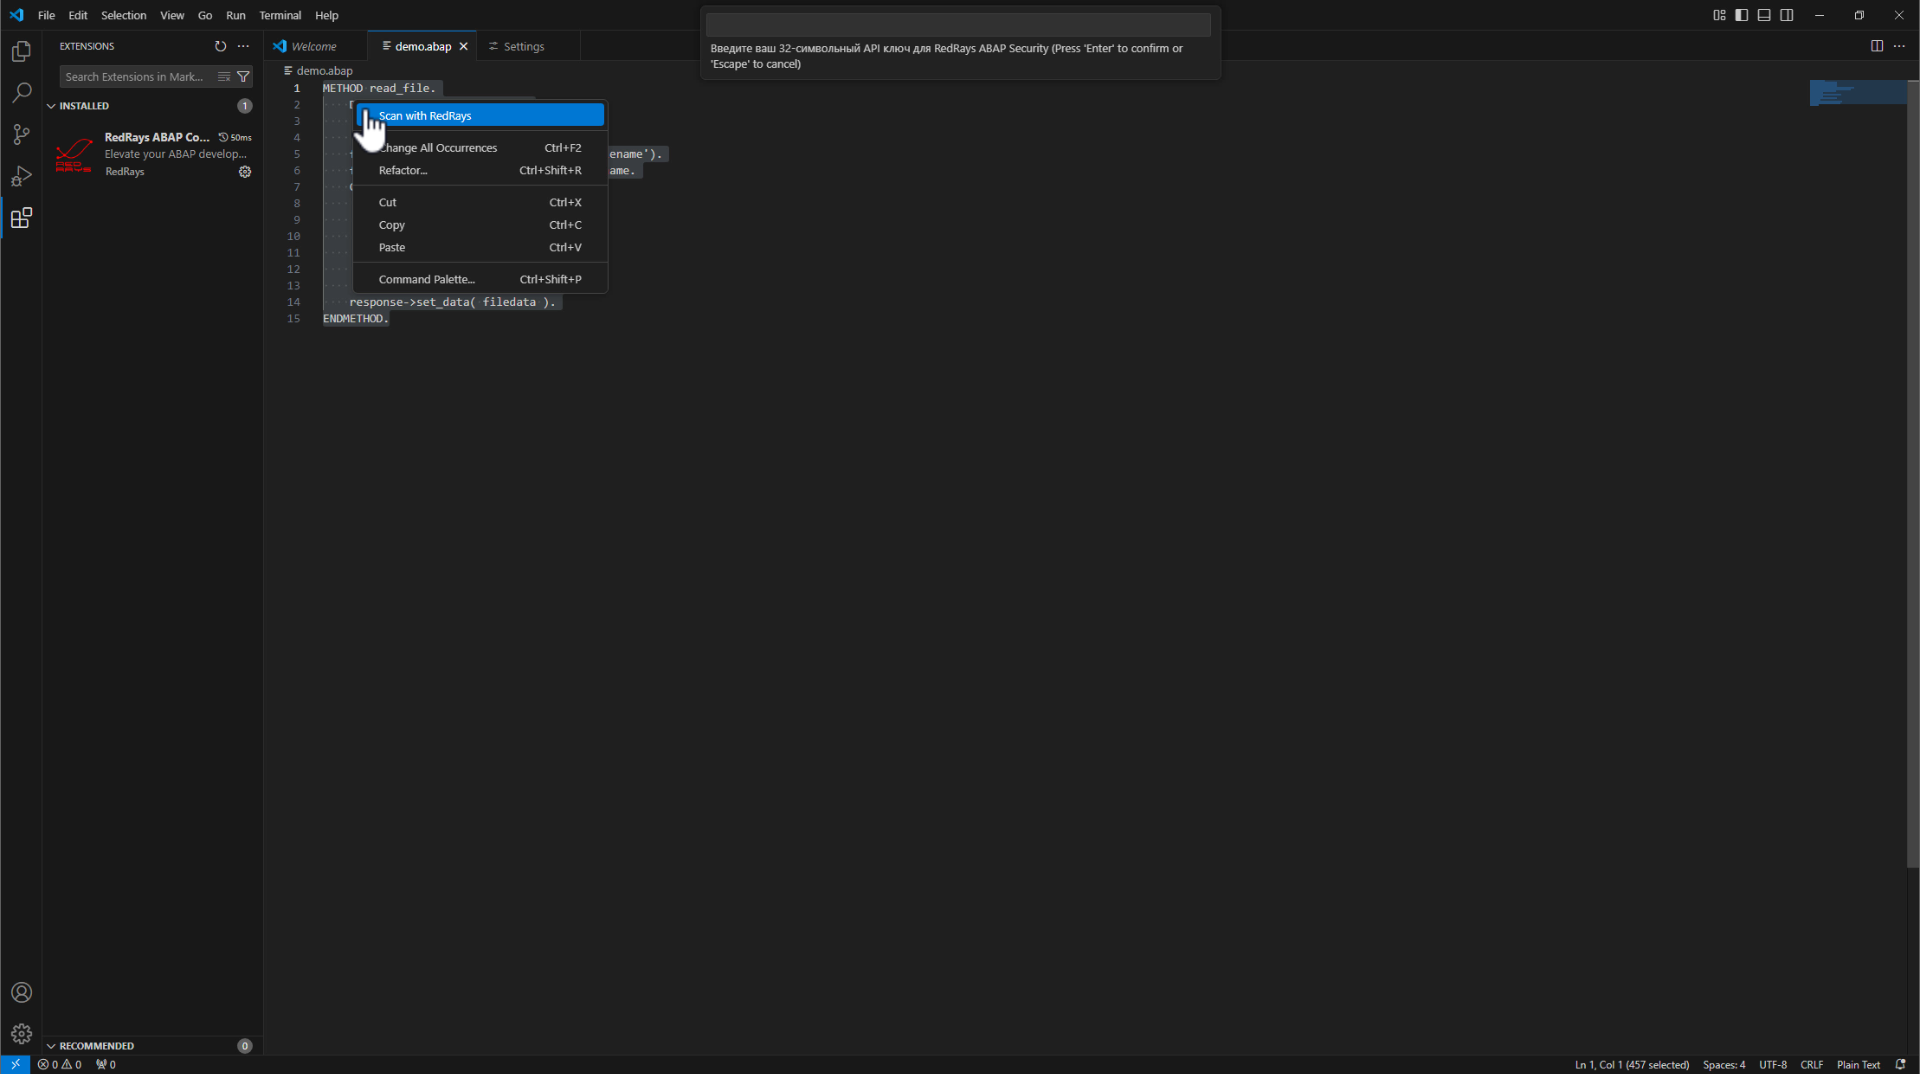
Configure API Key Enter the 32-character API key provided by RedRays (https://redrays.io/abap-scanner/) in the “API Key” field and press Ctrl + S to save the key.
Insert key 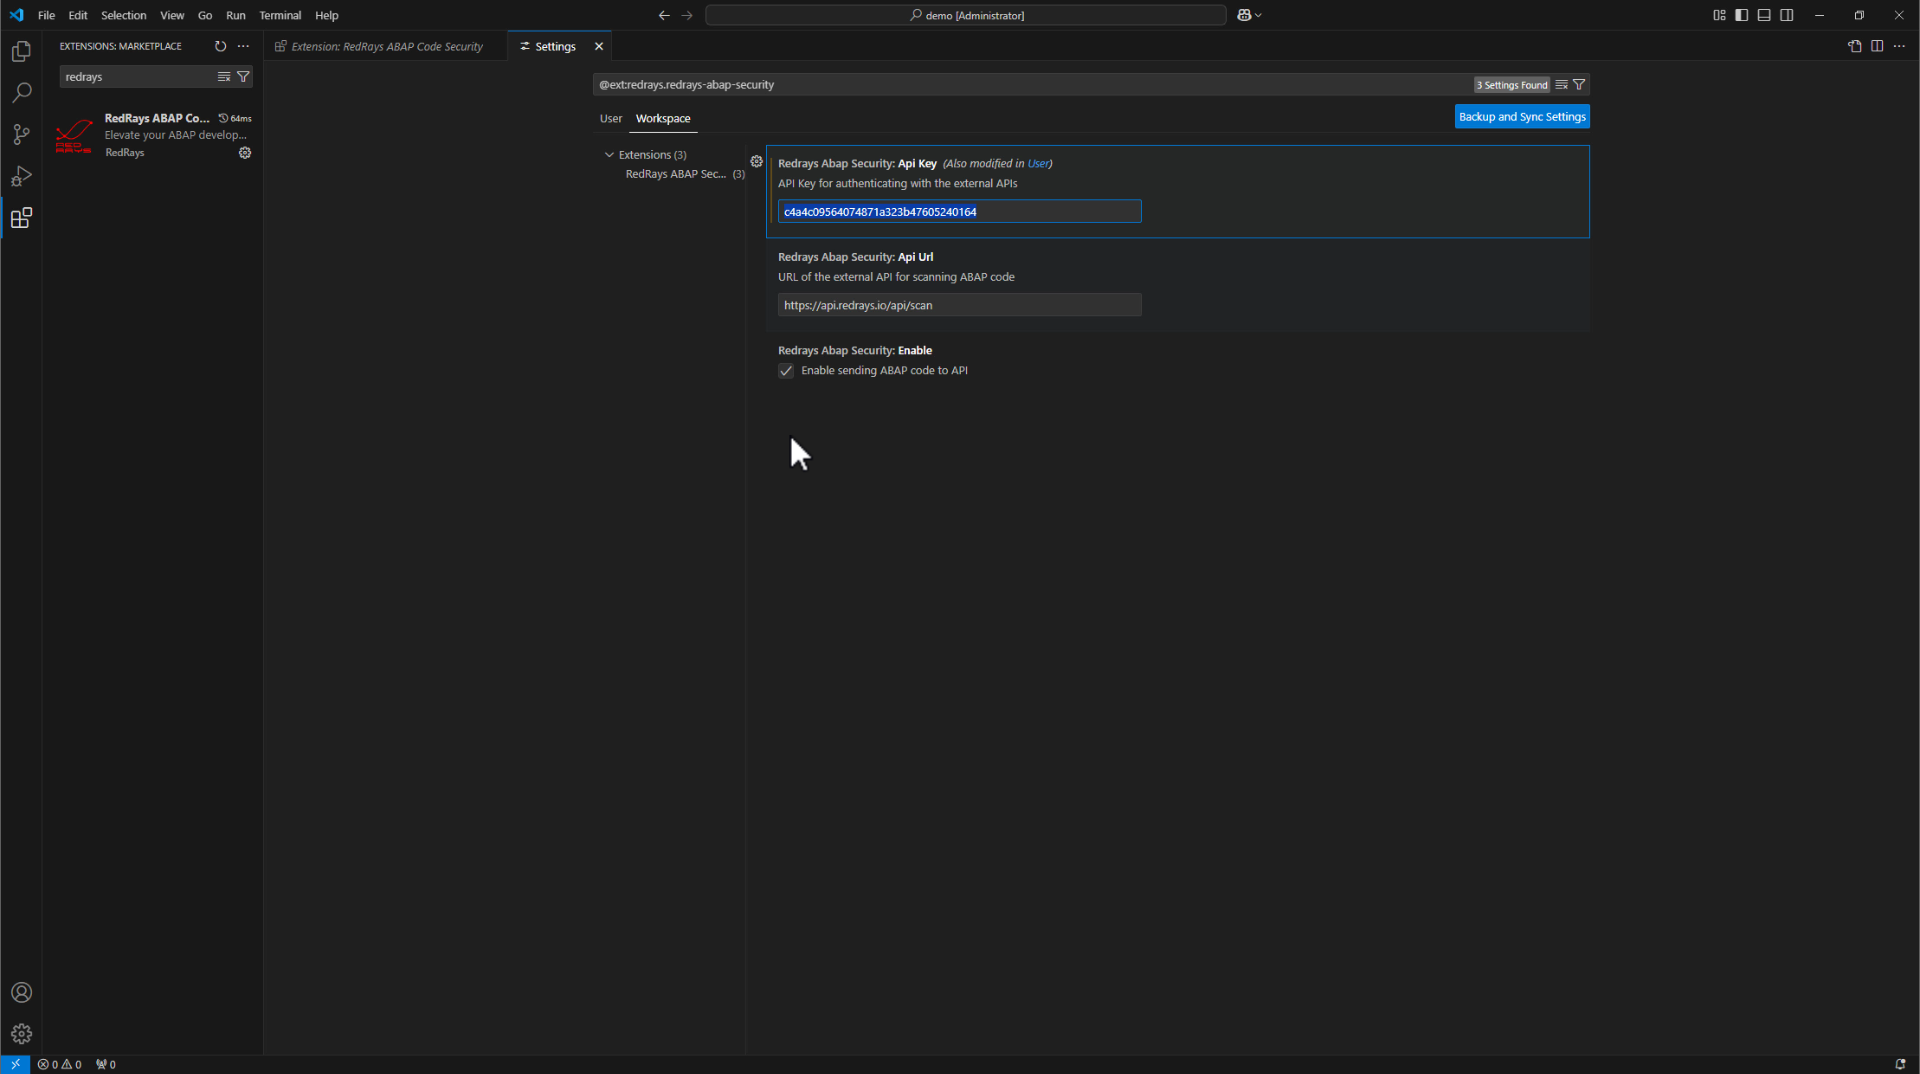
Insert key Ensure the API URL is set to https://api.redrays.io/api/scan.
Verify that the setting “Enable sending ABAP code to API” is enabled.
4. Using the Plugin
